How to Choose the Right Mic for Music Recording in Any Room
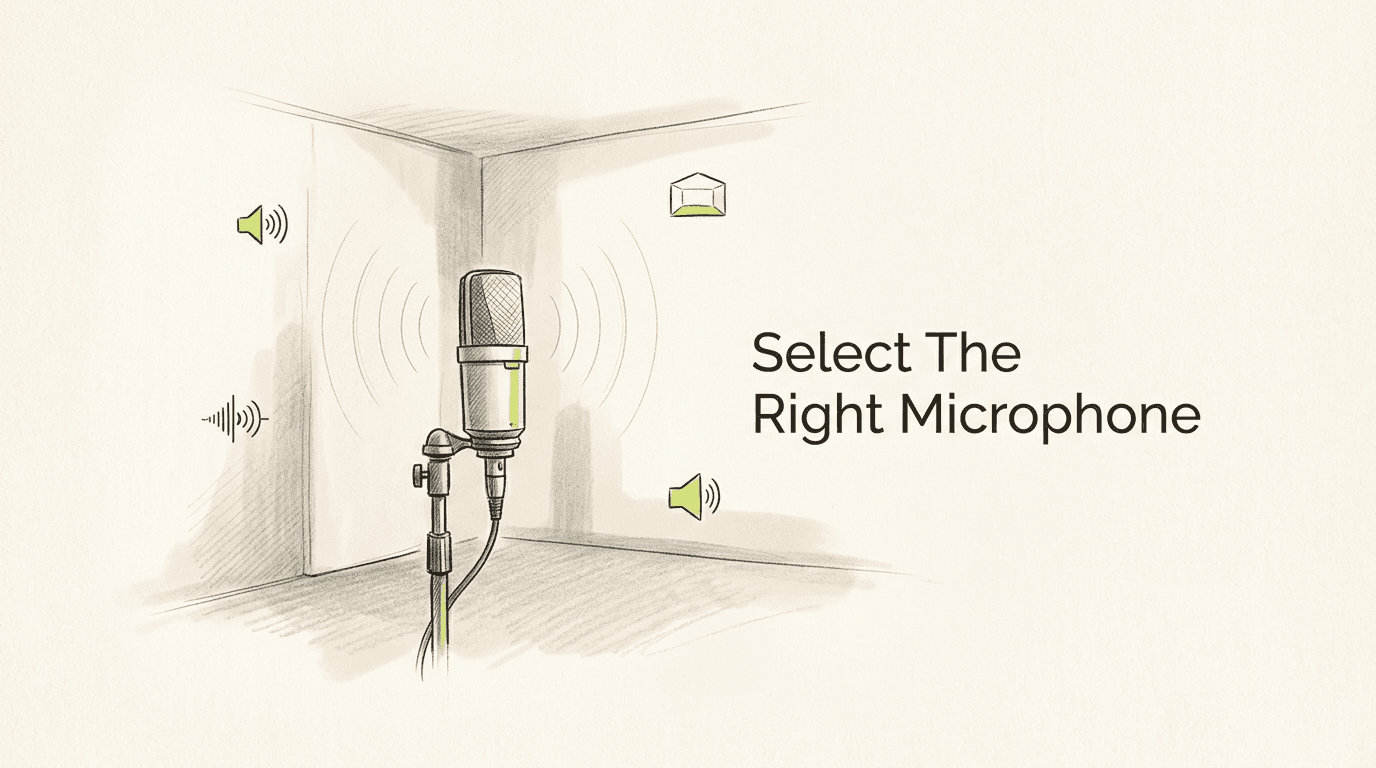
A common misconception in home and project studio production is that purchasing a highly sensitive, premium condenser microphone will instantly resolve a track's clarity issues. In reality, placing a highly sensitive transducer in an untreated acoustic space simply captures a more detailed picture of a poor-sounding room. The microphone cannot separate the desired sound source from the acoustic reflections bouncing off the walls, ceiling, and floor. Selecting the right mic for music recording requires evaluating the acoustic environment, understanding the mechanical properties of different transducer types, and matching the microphone's specifications to the sound pressure level of the instrument. Doing this correctly prevents destructive phase cancellation at the source and ensures the raw audio requires less corrective equalization later in the production process.
Quick Summary
Choosing the correct microphone dictates the fundamental quality of a recording before any processing occurs. This selection relies on matching transducer mechanics, polar patterns, and sensitivity ratings to both the sound source and the physical room.
- Match the transducer type (dynamic, condenser, ribbon) to the transient response of the instrument.
- Use polar patterns to reject unwanted ambient noise and room reflections.
- Verify the microphone's Maximum Sound Pressure Level (SPL) rating against loud sources to prevent capsule distortion.
- Manage the proximity effect to control low-frequency buildup on directional microphones.
Table of Contents
- 1. Assess Your Acoustic Environment
- 2. Match the Transducer Type to the Sound Source
- 3. Read and Interpret Polar Patterns
- 4. Evaluate Maximum SPL and Sensitivity Ratings
- 5. Factor in the Proximity Effect for Vocals
- Common Pitfalls and Troubleshooting
- FAQ
- Recommended Reads
1. Assess Your Acoustic Environment
The physical room where the recording takes place is the first variable that dictates which microphone to select. Microphones capture changes in air pressure. When an instrument produces sound, the direct sound wave hits the microphone capsule first. Milliseconds later, the sound waves that bounced off the walls, ceiling, and desk arrive at the capsule. If these early reflections are loud enough, they combine with the direct signal out of phase, causing a phenomenon known as comb filtering, which permanently hollows out the frequency response.

Highly sensitive microphones capture a longer decay of these room reflections. If you are recording in a square bedroom with parallel walls, low frequencies will build up in the corners, and mid-high frequencies will create a rapid flutter echo. A sensitive microphone will document all of this interference. Professional mixing and mastering services often spend hours attempting to mask boxy, comb-filtered room reflections that could have been avoided at the tracking stage.
The mistake most engineers make is buying thin acoustic foam, placing it on the walls, and assuming the room is treated well enough for any microphone. Thin foam only absorbs high frequencies, leaving the low-midrange reflections entirely intact, which results in a muddy, muffled recording space.
To act on this today, walk into your recording space and clap your hands sharply. If you hear a distinct metallic ringing or a long tail of reverb, do not choose a highly sensitive condenser microphone. Instead, opt for a dynamic microphone that requires the source to be closer, effectively lowering the ratio of room reflections to direct sound in your recording.
2. Match the Transducer Type to the Sound Source
A transducer is the internal mechanism that converts acoustic energy (sound waves) into electrical energy (voltage). The physical mass of this mechanism dictates how quickly it can react to sudden bursts of sound, known as transients.
Moving-coil dynamic microphones utilize a relatively heavy membrane attached to a wire coil suspended in a magnetic field. Because this assembly has physical mass, it takes more acoustic energy to move it, making dynamic microphones less sensitive to quiet details but highly resistant to physical distortion. Condenser microphones, conversely, use electrostatic capacitance. A microscopically thin metalized polymer film sits micrometers away from a rigid backplate. Because this film has almost zero mass, it reacts instantly to fast transients and high frequencies, producing a detailed and airy sound. Ribbon microphones use a corrugated strip of aluminum suspended between magnets, resulting in a naturally smooth, rolled-off high-frequency response that tames harshness.
The mechanical mistake people make is matching a naturally bright, aggressive sound source (like a trumpet or a highly sibilant vocalist) with a bright, fast condenser microphone. The resulting audio becomes brittle and fatiguing. If you capture a harsh vocal at the source, isolating and fixing it during specialized stem mastering services becomes a highly complex surgical process.
To apply this concept immediately, evaluate the instrument you are about to record. If the source generates aggressive, sharp transients that hurt your ears in the room (like a snare drum or a brass section), select a heavier, slower dynamic or ribbon microphone to naturally smooth out the mechanical peaks. If the source is delicate and quiet (like fingerpicked acoustic guitar), select a lightweight condenser to capture the nuances.
3. Read and Interpret Polar Patterns
A polar pattern is the three-dimensional space around the microphone capsule where it is most sensitive to sound. Understanding these patterns allows you to use the microphone as an acoustic filter, rejecting unwanted noise before it ever enters the audio interface.
Omnidirectional microphones act as simple pressure transducers, capturing sound equally from a 360-degree radius. Directional microphones, such as cardioid and figure-8, are pressure-gradient transducers. A cardioid microphone uses carefully engineered rear ports (an acoustic labyrinth) to delay the sound entering from the back of the microphone. When this delayed rear sound meets the sound wrapping around the front of the diaphragm, the waves are entirely out of phase and cancel each other out, creating a "null point" or dead zone directly behind the microphone.
Practical rule: Position the absolute null point of your directional microphone directly facing the loudest source of unwanted ambient noise in the room, rather than simply pointing the front of the capsule at the instrument.
The most frequent failure in pattern selection is assuming a cardioid microphone rejects all room sound regardless of its placement. A cardioid mic placed near a computer monitor will still pick up the fan noise reflecting off the wall behind the vocalist, a frequent issue encountered in hip-hop mastering services when artists track vocals directly inside the control room.
Check your microphone's documentation today to locate its exact null point. For a standard cardioid, the null is at 180 degrees (the rear). For a supercardioid, the nulls sit at 126 degrees. Adjust the physical angle of your microphone stand right now so those specific degrees point directly at your computer fan or air conditioning vent.
4. Evaluate Maximum SPL and Sensitivity Ratings
Two critical specifications on every microphone data sheet determine whether the unit can physically survive the volume of the sound source: Sensitivity and Maximum Sound Pressure Level (SPL).
Sensitivity, measured in millivolts per Pascal (mV/Pa), indicates how much electrical voltage the microphone generates when exposed to a standard acoustic pressure. A higher number means the microphone outputs a louder electrical signal. Maximum SPL dictates the absolute acoustic volume the capsule can withstand before the internal electronics generate measurable Total Harmonic Distortion (THD).
When a snare drum exceeds a condenser microphone's maximum SPL, the internal impedance converter clips the waveform. The mechanical failure happens inside the microphone body itself. The mistake engineers make in this scenario is turning down the gain on their audio interface preamp, assuming the preamp is distorting. Turning down the preamp only results in recording a quieter version of a permanently distorted signal. Clean, undistorted transients are strictly necessary for triggering dynamics processors correctly, which is why premium analog mastering equipment relies on the integrity of the original tracking phase.
To avoid this, match the numbers today. A standard snare drum strike easily generates peaks of 135 dB SPL. If your chosen microphone lists a Max SPL of 128 dB, you cannot place it two inches from the drum head, regardless of how much you pad the preamp. Move the microphone further away until the acoustic pressure drops below the microphone's distortion threshold.
5. Factor in the Proximity Effect for Vocals
The proximity effect is an artificial boost in low-frequency response that occurs when a sound source moves very close to a directional microphone. This is an unavoidable physical consequence of how pressure-gradient capsules measure phase differences.
Because directional microphones rely on the distance between the front and rear ports to create phase cancellation, the physics change dramatically as the sound source approaches the capsule. When a vocalist is six inches away, the sound waves are relatively flat (plane waves). When the vocalist moves to within one inch, the sound waves are highly curved (spherical waves). The pressure difference between the front and rear of the diaphragm becomes massive at low frequencies, resulting in a severe bass boost.
The common failure is allowing a vocalist to "eat the mic" to achieve a warm, intimate broadcast tone, inadvertently filling the entire frequency spectrum with muddy low-end rumble. Excessive low-frequency buildup forces digital limiters to work far too hard during final delivery preparation, a frequent bottleneck during CD mastering services that ultimately results in a quieter, distorted final track.
Act on this today by setting a physical boundary. Place a pop filter exactly four inches away from the microphone capsule. This mechanical barrier prevents the vocalist from entering the zone where the proximity effect heavily skews the frequency response, ensuring a consistent tonal balance throughout the entire performance.
Common Pitfalls and Troubleshooting
Even with the correct microphone chosen, physical placement errors create audio failures that sound remarkably similar to hardware malfunctions.
1. The "Hollow" Multi-Mic Setup
- Symptom: You place two microphones on an acoustic guitar or a drum kit. When you listen to either microphone alone, it sounds full. When you unmute both simultaneously, the low frequencies vanish, and the instrument sounds thin and distant.
- Diagnosis: This is destructive phase cancellation. Sound is arriving at the second microphone slightly later than the first, causing the waveforms to cancel each other out.
- Fix: Apply the 3-to-1 rule. The second microphone must be at least three times further away from the first microphone as the first microphone is from the sound source. Alternatively, flip the polarity (phase invert) button on the second microphone's preamp to see if the low-end returns.
2. Distorted Transients on Plosives
- Symptom: The vocal recording sounds pristine until the singer uses a word with a heavy "P" or "B" consonant. On these syllables, the audio completely cuts out or turns into a harsh, low-frequency square wave.
- Diagnosis: Plosives are blasts of wind, not just sound waves. The physical burst of air is bottoming out the diaphragm, pushing it so far back that it hits the rigid backplate of the condenser capsule.
- Fix: Do not rely solely on software plugins to fix this. Tilt the microphone backward on its stand by roughly 15 degrees. This allows the blast of air to glance off the capsule at an angle rather than striking it directly on the flat axis.
3. High-Frequency "Ice Pick" Harshness
- Symptom: Cymbals, tambourines, or sibilant vocals exhibit a painful, piercing high-frequency ringing that cannot be equalized out without making the entire track sound muffled and dull.
- Diagnosis: You have overloaded the transient response of a cheap, lightweight condenser microphone, resulting in intermodulation distortion in the upper frequencies.
- Fix: Swap the condenser for a dynamic or ribbon transducer. If you only own one condenser, rotate the microphone 20 degrees off-axis from the harsh sound source. High frequencies are highly directional, and turning the capsule slightly away will roll off the top end naturally before it hits the electronics.
Diagnosing these phase and frequency issues early is paramount. You can explore further diagnostic techniques in a dedicated mastering tips blog to understand how these tracking failures impact the final mix.
FAQ
Does a more expensive mic for audio recording guarantee a better vocal take? No. A more expensive condenser microphone typically features a wider frequency response and higher sensitivity. If placed in an untreated room, it will accurately capture the negative acoustic reflections of that space, often sounding worse than a cheaper dynamic microphone that rejects ambient noise.
Should I use phantom power on all microphones? Phantom power (48V) is required to polarize the backplate and power the internal circuitry of condenser microphones. It is not needed for moving-coil dynamic microphones. Applying phantom power to vintage ribbon microphones can instantly melt the ribbon element and destroy the transducer.
What is the difference between large and small diaphragm condensers? Large diaphragm condensers (typically 1 inch or larger) have a higher physical mass, which results in slightly slower transient response and a highly colored, flattering low-end representation due to the proximity effect. Small diaphragm condensers (under 1 inch) have very low mass, offering highly accurate transient tracking and a flatter, more clinical frequency response.
How do I choose a microphone for an untreated room? In an untreated room, prioritize rejection over sensitivity. Choose a dynamic microphone with a tight supercardioid polar pattern. This requires the sound source to be placed very close to the capsule, maximizing the ratio of direct sound while mechanically rejecting the room reflections arriving from the sides and rear.