Selecting and Integrating Audio Mixing Consoles for Professional Signal Routing
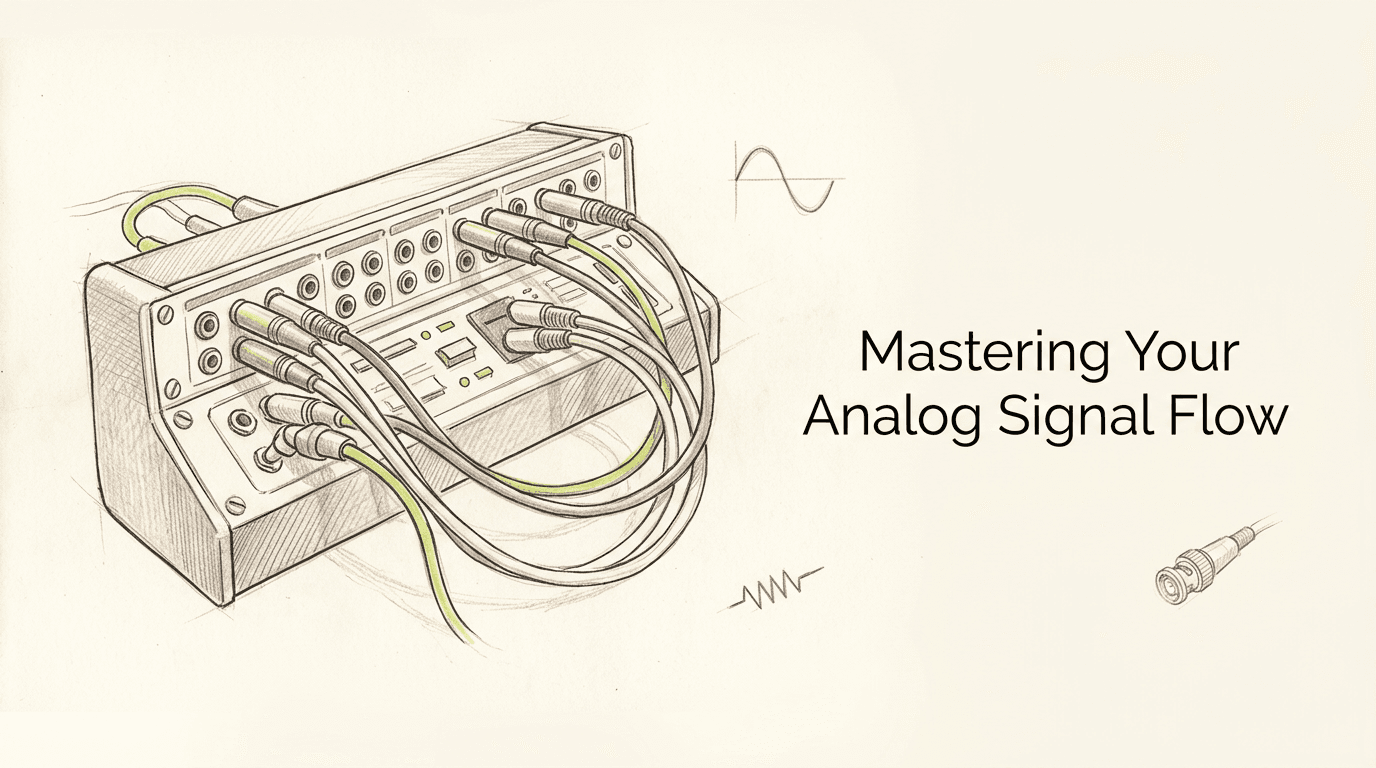
Staring at a collapsed stereo image on a master bus, most operators blame their compression settings, missing the fact that a daisy-chained digital clock has misaligned their converters before the signal ever reached the analog domain. Integrating audio mixing consoles into a modern digital ecosystem is a matter of strict electrical discipline. It requires mapping impedance values, matching analog headroom limits to digital full-scale targets, and isolating ground paths across hundreds of physical connections. This guide breaks down the mechanical integration of analog routing architectures, detailing where parallel workflows fail and how to calibrate physical hardware against digital audio workstations.
Quick Summary
Integrating analog hardware requires matching line-level operating standards with digital converter calibration to prevent impedance mismatches and harmonic distortion. Success depends on isolating ground networks, configuring dedicated summing matrices, and enforcing strict unity gain structures across all physical routing points.
- Calibrate digital-to-analog converters so -18 dBFS equals +4 dBu on the physical meters.
- Lift cable shields at the destination point to prevent 60Hz ground loops across the patchbay.
- Route parallel processing entirely within the analog domain to avoid converter round-trip phase smearing.
- Terminate digital synchronization via dedicated 75-ohm BNC word clock networks rather than optical audio connections.
Table of Contents
- 1. Define the Architecture for Audio Mixing Consoles
- 2. Calculate True I/O Requirements and Headroom Limits
- 3. Interface the AD/DA Conversion Stage
- 4. Establish Outboard Insert Paths
- 5. Configure the Control Room Monitoring Section
- 6. Calibrate the Master Summing Bus Gain Structure
- Common Pitfalls & Troubleshooting
- FAQ
- Recommended Reads
1. Define the Architecture for Audio Mixing Consoles
Over-specifying mic preamps degrades the summing noise floor
Where does hardware integration begin? It starts by identifying whether the facility requires an inline recording desk, a split-monitor broadcast board, or a dedicated line-level summing mixer. Inline designs share a channel strip. They place the microphone preamplifier and the tape or digital audio workstation (DAW) return on the exact same channel. A fader-flip mechanism switches focus between tracking and mixing. This setup saves physical space in the control room. However, passing line-level stems through complex circuitry designed for microphone impedance often adds unnecessary thermal noise to the signal path.
The primary mistake facilities make is purchasing a large-format desk with 48 microphone preamplifiers when their daily operation consists entirely of mixing pre-recorded digital tracks. Those unused preamplifiers draw power, generate heat, and introduce a higher baseline noise floor across the internal summing buses. When configuring professional mixing and mastering services, operators require pristine line-level routing rather than tracking flexibility. A dedicated 16-channel or 32-channel analog summing matrix with a robust, high-voltage center section provides better stereo separation and lower total harmonic distortion than a tracking desk forced into a mixing role. Evaluate the true daily operational requirements before paying for unused copper and routing matrices.
2. Calculate True I/O Requirements and Headroom Limits
Analog headroom dictates your converter calibration
The mathematical relationship between digital full scale (dBFS) and analog operating levels (dBu) determines whether the hardware behaves transparently or clips prematurely. Professional audio gear standardizes at an operating level of +4 dBu, but the maximum output before clipping varies wildly based on internal power rail voltages. A vintage console running on 15-volt rails might clip at +18 dBu, while modern high-voltage topologies can cleanly pass +28 dBu.
If the digital-to-analog converters are factory-calibrated so that 0 dBFS equals +24 dBu, sending a fully limited digital stem out of the DAW will slam the console's input transformers with a signal running 6 decibels hotter than a vintage desk can accommodate. The result is harsh, unmusical square-wave clipping at the channel input before the signal ever reaches the fader.
Practical rule: Calibrate every digital output channel manually using a 1kHz sine wave at -18 dBFS, adjusting converter trim pots until the physical channel meter reads exactly 0 VU (+4 dBu).
This establishes a unified gain structure, allowing faders to ride at their optimal unity position while maintaining enough headroom for transient peaks. Patchbay configurations must also support these voltages; using high-quality TT bantam patchbays prevents the impedance drops associated with cheap TRS connections.
3. Interface the AD/DA Conversion Stage
Daisy-chained clocking destroys stereo imaging
Analog summing relies entirely on phase coherency. When splitting a digital session across 24 channels of a physical desk, every single audio sample must exit the digital domain at the precise microsecond. If the timing deviates between channels, the analog summing bus will exhibit phase smearing, manifesting as a hollowed-out snare drum or a wandering vocal image.
The failure mode here occurs when facilities rely on optical connections (ADAT or S/PDIF) to synchronize multiple converter chassis. Daisy-chaining clock data alongside audio packets introduces jitter, which refers to tiny timing fluctuations in the digital word. By the third converter in the chain, the audio is firing fractions of a millisecond out of phase with the first converter.
To prevent this phase degradation, integration demands a dedicated 75-ohm BNC word clock network. A master clock generator must distribute a star-topology signal directly to every converter in the rack, bypassing audio cables entirely. Terminate the final unit in the chain with a 75-ohm resistor to prevent clock reflections from traveling back down the wire. When evaluating analog and digital mastering equipment, prioritizing a master clock over an extra outboard compressor guarantees that the phase relationships established in the DAW remain intact on the physical mix bus.
4. Establish Outboard Insert Paths

Half-normalled patchbays cause insert feedback loops
Hardware inserts allow engineers to patch external equalizers and dynamics processors directly into a channel's signal path before it reaches the main routing matrix. Integrating these insert points requires specific patchbay normalization. A patchbay dictates how signals flow when no cables are plugged into the front panel. Fully normalled connections break the internal signal path when a cable is inserted into either the top (send) or bottom (return) row. Half-normalled connections only break the path when a cable is plugged into the bottom row, allowing the top row to act as a passive mult for parallel processing.
The dominant mistake in console integration is wiring channel insert points to a half-normalled patchbay block. An engineer might patch an outboard compressor into the send without immediately patching the return. The half-normalled connection feeds the channel's output back into itself while simultaneously sending it to the compressor. A destructive feedback loop or severe phase cancellation results. Insert sends and returns must always be isolated (non-normalled) or fully normalled. For complex parallel processing, utilize dedicated auxiliary sends. Do not tap half-normalled insert points. This applies when preparing heavy drum tracks during stem mastering services. It ensures the impedance remains stable and the phase stays coherent.
5. Configure the Control Room Monitoring Section
Passive monitor controllers skew low-end crossover frequencies
The center section of the desk acts as the definitive listening matrix for the entire facility. It manages alternate speaker switching, external two-track returns, and talkback communication. Critically, it provides the mono fold-down circuit required to check phase correlation, a mandatory routing step for facilities preparing CD mastering services or cutting physical formats.
When operators bypass a limited center section in favor of an external desktop monitor controller, they frequently select passive volume attenuators to avoid adding active circuitry to the signal path. A passive controller relies on a variable resistor to lower the volume. As the engineer turns the volume knob down, the output impedance of the controller rises dramatically. This fluctuating impedance interacts with the input stage of the active studio monitors, acting as a variable low-pass filter. The quieter you listen, the more the high frequencies roll off and the crossover points shift, leading to flawed mix decisions based on an inaccurate frequency response. Always integrate an active, impedance-matched monitor matrix that maintains a flat frequency response regardless of the listening level.
6. Calibrate the Master Summing Bus Gain Structure
Mismatched gain staging ruins analog signal-to-noise ratios
The final stage of integration involves setting the operational sweet spot for the master two-bus. Analog components exhibit a specific noise floor (the baseline hiss of the circuitry) and a clipping point. The distance between the average signal level and the noise floor is the signal-to-noise ratio. The distance between the average signal and the clipping point is the headroom.
A common failure occurs when operators feed weak digital signals into the line inputs, pulling the physical channel faders down to -10, and then compensating by driving the master fader to +10. This configuration starves the channel summing amplifiers, pushing the audio down into the noise floor, while simultaneously overloading the makeup gain stage of the master bus. Every active channel assigned to the master bus adds its inherent noise to the sum, regardless of whether audio is playing. If only 16 tracks of a 32-channel desk are in use, unassigning the empty 16 channels from the main routing matrix instantly drops the broadband noise floor by 3 decibels. Maintaining faders at their designed unity gain position ensures the voltage sweeps through the resistors exactly as the circuit designer intended.
Common Pitfalls & Troubleshooting
When signal routing fails, the symptoms often present as generalized noise or lost frequency content. Diagnosing analog hardware requires isolating the electrical pathways rather than adjusting digital software.
Pin 1 Ground Loops (Most Frequent Cause of Noise) Symptom: A constant 60Hz or 50Hz hum appears on the master bus the moment an outboard hardware unit is patched into a channel insert, even when no audio is playing. Fix: This indicates a ground loop caused by two pieces of equipment drawing earth ground from different electrical panels while also being connected via the audio cable's shield (Pin 1 on an XLR). The fix is never to break the safety ground on the power cable. Instead, telescope the audio shield by disconnecting the ground wire inside the audio connector at the destination end of the patch cord. This allows the shield to block radio frequencies without carrying loop currents between chassis.
Unbalanced to Balanced Signal Loss Symptom: Routing a synthesizer or unbalanced effects processor into a balanced line input results in a sudden 6dB drop in overall volume and a noticeable loss of high-frequency detail. Fix: Tying the cold pin (Ring) to ground (Sleeve) on a TRS cable to force an unbalanced connection halves the signal voltage and alters the impedance. To integrate unbalanced gear without signal degradation, patch the device through a dedicated line matching transformer or an active direct injection (DI) box that electrically balances the signal before it hits the console's input stage. Consulting specialized mastering guides and tutorials can provide wiring schematics for proper impedance matching.
Digital Round-Trip Phase Smearing Symptom: When a parallel drum compression bus is routed out to the analog desk and blended with the dry drum bus returning from the DAW, the snare drum loses its punch and sounds distinctly hollow. Fix: The digital-to-analog conversion process takes a few milliseconds. If the dry signal stays in the box while the parallel signal makes a round trip through the hardware, the two signals hit the summing matrix out of phase. The DAW's automatic delay compensation cannot perfectly align hybrid analog paths. The fix is to route both the dry and wet drum buses out through the converters and process the parallel compression entirely within the analog domain on the physical desk.
FAQ
What operating level should I use to calibrate an audio mixing console?
Professional hardware is designed to operate at +4 dBu. To calibrate your digital audio workstation to this standard, generate a 1kHz sine wave at -18 dBFS and adjust your converter outputs until the physical meters read exactly 0 VU.
How do half-normalled patchbays function in a routing matrix?
Half-normalled patchbays duplicate the signal from the top row (output) to the bottom row (input) internally. Plugging a cable into the top row creates a split, allowing parallel routing, whereas plugging a cable into the bottom row breaks the internal connection to insert external processing.
Why do hybrid studios prefer line-level summing mixers over large format desks?
Line-level summing mixers omit microphone preamplifiers and complex equalization circuits, reducing physical footprint, thermal noise, and maintenance costs. This provides a cleaner, more direct signal path for stem integration from digital workstations.
How does digital word clocking affect analog summing?
Accurate analog summing relies on precise phase alignment across all channels. If multiple digital converters are poorly clocked, audio samples arrive at the analog matrix fractions of a millisecond apart, causing phase smearing and a collapsed stereo image.